Gmail is an excellent tool for managing mail from multiple accounts. There are a few different ways to interact with an email account from your own domain (i.e., me@mycompany.com), including:
- Automatically forwarding messages sent TO me@mycompany.com so they are delivered to your Gmail account
- using POP3 so that messages sent TO me@mycompany.com arrive in your Gmail account right away*
- configuring Gmail so you are able to send mail FROM me@mycompany.com within your Gmail account.
* – Gmail fetches mail from your external account (me@mycompany.com) based on how often you receive mail, so there may be a delay between sending and import to Gmail.
This article focuses on configuring Gmail so you are able to send mail FROM me@mycompany.com within your Gmail account.
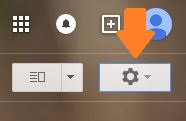
Step 1. Click the gear icon then click “Settings” to enter the Gmail settings menu.
Step 2. Click the Accounts (or Accounts and Import) tab, then click “Add another email address you own.” 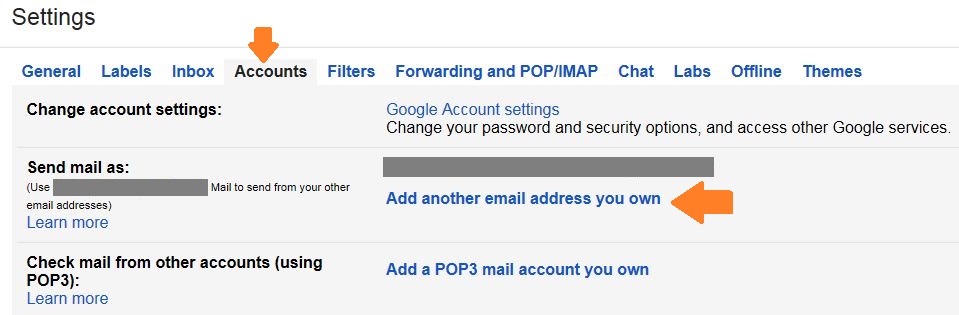
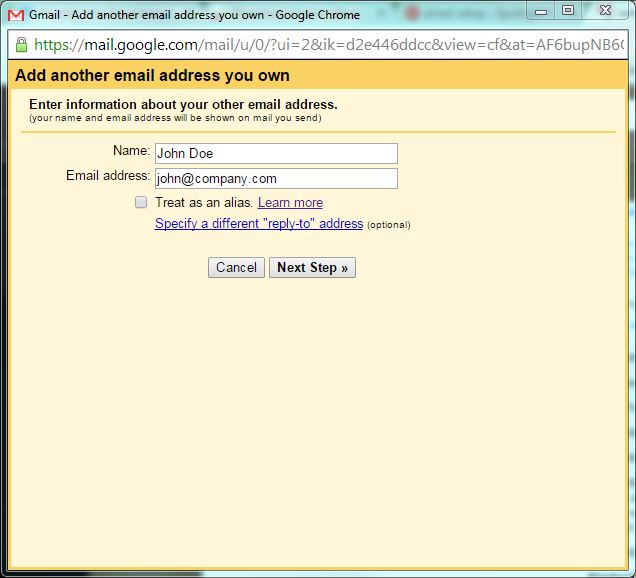
Step 3. Enter information about your other email address.
- Type the name you want to appear in the recipient’s inbox when you send them a message. This may be your name, or something like Acme Customer Service.
- Type the email address.
- You probably want to uncheck ‘Treat as an alias.” Learn more about that here.
- Click Next Step to continue.
Step 4. Add information about your SMTP server.
- You’ll need to obtain the SMTP Server and Port from the place where you created the email account. This is probably inside the control panel of your web hose or registrar. If you are a SparkDawn Media web customer, we can give you this information via phone or email.
- Enter your username and password. (note: some hosting companies require you to enter your entire email address as the username).
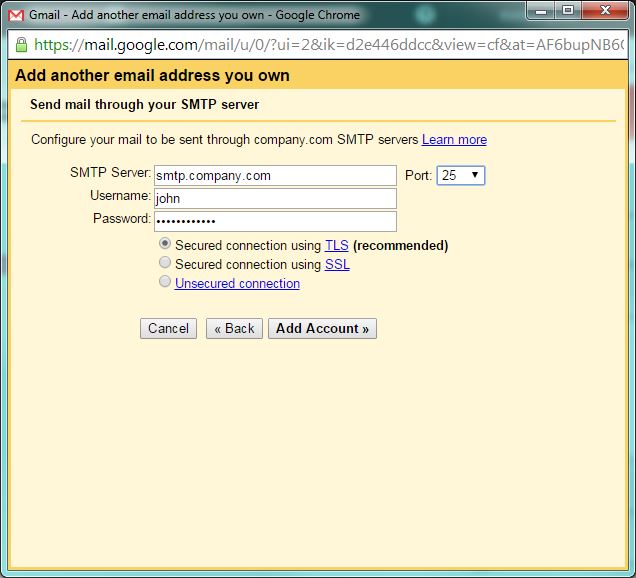
Step 5. Click Add Account. Gmail will test your settings and add the account to Gmail.
Problems? Double-check your settings, especially the password and Port.
Step 6. Start sending messages FROM your new account
You can choose your default account on the Settings > Accounts screen that you used in Step 2 above.
You can change the FROM address when sending a message by clicking your From address and selecting the one you want from the dropdown. Learn more about that here.
Choose one of your addresses from the drop-down menu.
There are slightly different settings if you’re using Gmail’s iOS app.
Step 7. Organize your Mail
- Now that you’ve added your account to Gmail, be sure to use Labels and Filters to organize your mail.
- Gmail’s Priority Inbox is also very useful for automatically sorting your incoming mail. Learn more at http://www.gmail.com/priorityinbox.
Happy Emailing!